
Blog
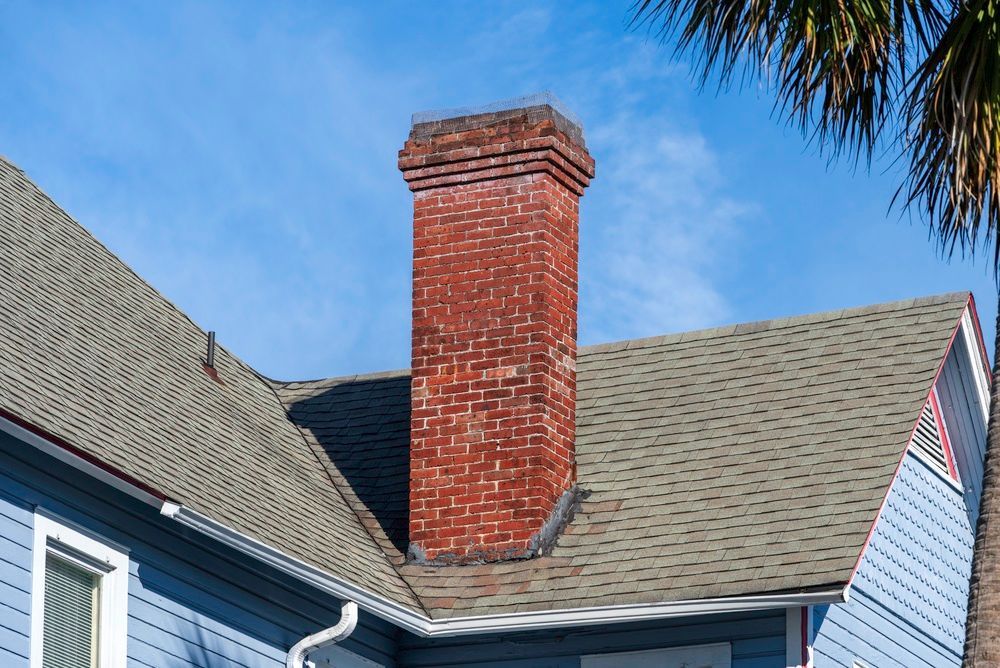
Preserving an old brick chimney is about more than maintaining your historic property's curb appeal; it is a critical safety measure. A deteriorating masonry system can pose severe safety hazards, from structural instability to fire risks. At Disciple Masonry, we specialize in diagnosing and restoring historic masonry. Catching early warning signs, such as crumbling material near your roofline or falling debris inside your firebox, can save you from facing a costly total brick chimney repair in Manayunk down the road. Understanding the common components of your chimney, from the throat damper to the smoke shelf, helps you make informed decisions about your property. If you use a wood stove or a pellet stove, regular vigilance is even more critical. The higher heat and creosote production involved in these heating appliances can accelerate the degradation of older lime-based mortars, turning an overlooked issue into an urgent structural failure. Red Flags: Common Signs of Chimney Failure Property owners must identify structural deterioration before moisture completely compromises the entire masonry system. Water is the primary enemy of brickwork. When structural water damage spreads through the system, the risk of a severe property fire increases significantly because the compromised masonry can no longer properly insulate the wooden framing of the house from high temperatures. Interior Water Stains: Large water stains appearing on your dining room ceilings or drywall indicate that moisture has penetrated the home through compromised mortar joints. These unsightly marks are a clear indicator that the protective exterior layers of your home are failing. Crumbling Mortar: Finding sandy, powdery debris or chunks of mortar accumulating on your roof shingles or inside the firebox is a clear sign that the binding materials have lost their structural strength. Spalling Brick: When moisture enters porous bricks, cold temperatures cause the trapped water to freeze and expand. This aggressive thermal expansion breaks the solid brickwork apart, causing the faces to pop off, a process known as spalling. Spalling bricks require immediate attention to prevent partial collapses that could destroy your surrounding roof structure. Leaning Stack or Large Vertical Cracks: If your chimney stack is visibly leaning, moving away from the roof line, or showing severe vertical splitting, immediate professional stabilization is required to prevent a total collapse. Warning : Never ignore signs of moisture inside your home. Even minor leaks can rot wooden framing and create severe mold issues over time, making a chimney repair urgent for the structural health and environmental safety of your residence. 1. Restoring Mortar Joints: The Tuckpointing Process Many common issues with historic masonry begin with small cracks that seem entirely harmless to the untrained observer. These hairline cracks allow significant moisture to enter the porous masonry during heavy rainstorms throughout the spring season. When temperatures drop, the freeze-thaw cycle begins its destructive work. When old mortar turns to dust, tuckpointing (also known as repointing) is used to restore structural integrity. This process involves using specialized hand tools, like chisels or a small angle grinder with a diamond blade, to clear out the loose material from the mortar joint to a depth of about half an inch. Great care must be taken during this step to avoid scarring or damaging the surrounding bricks, as historic bricks are much harder to replace than the mortar itself. For historic homes, using the correct mortar mix is paramount. Modern Portland cement is incredibly rigid and impermeable. If applied to old, handmade bricks, it will not allow the masonry to breathe or flex. As the chimney expands and contracts with thermal changes, the hard modern cement will crush the softer historic bricks, causing them to crack and spall. At Disciple Masonry, we utilize a custom, softer mix of lime and sand to perfectly match the strength, flexibility, porosity, and historical color of your existing masonry joints. After applying the mortar with a pointing trowel, it must be struck cleanly to match the original joint profile and allowed to cure fully before exposing the structure to high heat from a fireplace or wood stove. 2. Rebuilding the First Line of Defense: Chimney Crowns & Caps Water belongs outside your chimney, not inside it. Protection starts at the very top of the stack, where the elements hit the hardest. The Chimney Crown The chimney crown is the solid concrete slab covering the top of the masonry, sloped to shed water away from the exterior bricks. When a chimney crown cracks, rain runs straight down into the vertical masonry joints of the stack, causing rapid decay through the entire core of the structure. Minor hairline cracks can be cleaned with a wire brush and sealed with specialized, waterproof elastomeric sealants. However, if the mortar has turned to dust and chunks are missing, the crown must be completely formed and poured fresh to provide a lasting, watertight seal. The Chimney Cap Many older chimneys completely lack a high-quality stainless steel chimney cap, leaving the interior flue vulnerable to rain, snow, debris, and nesting animals. The installation cost of a high-quality cap is minimal compared to the price of a full chimney rebuild caused by internal water damage. Modern caps also feature integrated spark arrestors, which are vital for preventing stray embers from drifting onto your roof or nearby dry vegetation, reducing fire hazards substantially. 3. Securing the Vulnerable Transition: Where Chimney Meets Roof The junction where your chimney intersects the roofline is one of the most common failure points for water penetration in residential properties. Making sure this transition remains completely watertight requires a heavy-duty, two-part flashing system. If you notice leaks in your attic near the chimney breast, it is highly likely that your flashing has failed or pulled away due to thermal expansion or natural house settling. As shown above, a proper installation requires an overlapping design: Base Flashing (Step Flashing): L-shaped metal sheets that interweave directly with the roof shingles along the sides of the chimney. Counter-Flashing: Metal sheets bent and embedded directly into the mortar joints of the brick chimney, overlapping the base flashing. This overlapping design creates a shedding effect for water while allowing your house roof and your heavy masonry chimney to move and settle independently over time without ever breaking the crucial water seal. High-quality sealants designed specifically for masonry-to-metal transitions provide an extra layer of protection in these high-stress areas. DIY vs. Professional Restoration While a handy homeowner can tackle minor cosmetic cleanups, structural masonry work at dangerous heights demands specialized knowledge, experience, and safety equipment. If you plan to tackle minor maintenance at ground level, tools like a hawk to hold your mortar mix, a tuckpointing trowel for precise placement, a jointing tool, and safety gear (including a dust mask, safety glasses, and heavy-duty gloves) are essential. The mortar consistency should be like peanut butter: firm enough to stay on the trowel but wet enough to bond with the existing masonry. However, for major defects, calling a professional is the safest and most cost-effective path forward. Inspection DIY Scope: Visual ground check and checking the firebox for debris. Professional Scope (Disciple Masonry): Level 2 internal flue cameras and physical rooftop assessments. Mortar Repair DIY Scope: Minor aesthetic patches on easily accessible garden walls. Professional Scope (Disciple Masonry): Full-depth grinding and historic lime-mortar replication. Crown & Flashing DIY Scope: Applying brush-on sealants to small hairline cracks. Professional Scope (Disciple Masonry): Pouring concrete crowns and custom multi-layered flashing fabrication. Severe Damage DIY Scope: Not recommended due to safety and structural risks. Professional Scope (Disciple Masonry): Structural shoring, partial teardowns, and historical reconstructions. Professional chimney sweeps and masons have the equipment to see deep inside the flue, identifying hidden hazards like cracked clay tile liners, creosote accumulation, or damaged flue systems that compromise performance and safety. Whether you heat your home with an authentic wood stove, a pellet stove, or a traditional open fireplace, keeping your masonry structurally sound is an essential investment. Contact Disciple Masonry today to schedule an expert on-site evaluation, secure your flashing, restore your mortar joints, and protect your home for decades to come.
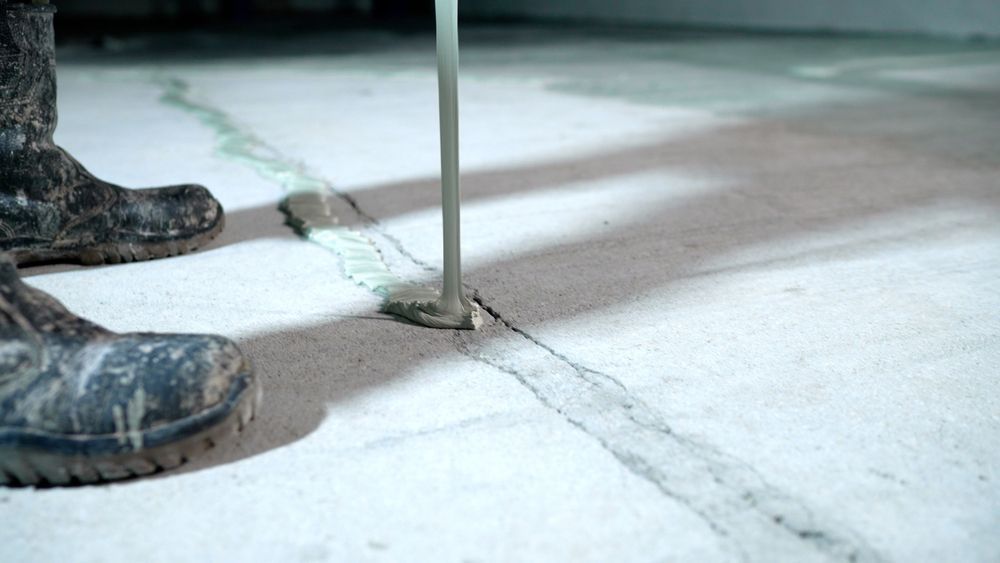
Spotting a jagged line across your concrete basement floor can instantly trigger anxiety. You might immediately wonder: Should I repair this immediately, or wait for further signs of trouble? While it is easy to envision your home's foundation slowly crumbling, a single basement floor crack rarely signals impending structural collapse. However, ignoring these physical fissures can lead to much bigger problems down the road. To protect your property, you must evaluate the severity of the damage, understand why these defects happen, and decide on the appropriate course of action. When homeowners are unsure of the risks, turning to experienced structural concrete experts like Disciple Masonry can provide basement floor crack repair in Bucks County needed to keep a home safe and dry. Why Do Basement Floor Cracks Appear? Concrete is rigid, but the earth beneath it is constantly in motion. Understanding the underlying mechanics of your home helps you identify the root cause of the damage: Expansive Clay Soil: When a home is built on clay-heavy soil, the ground dramatically expands when wet and contracts when dry. This shifting places immense stress on the concrete slab, eventually causing it to crack. Hydrostatic Pressure: High water tables push groundwater upward against the bottom of your concrete floors. Over time, this intense pressure creates fractures that let moisture seep into your living space. Poor Construction Practices : If builders failed to properly compact the dirt before pouring the concrete, the heavy slab will eventually sink into the remaining voids. Natural Concrete Shrinkage: Minor hairline cracks commonly result from normal concrete shrinkage during the curing process as moisture leaves the initial mix. Newly poured concrete shrinks slightly during its first year. Monitoring these changes over the first 24 months helps establish a baseline for your home's natural movement before rushing into heavy repairs. If cracks continue to widen past this mark, it’s time to have a professional team like Disciple Masonry take a closer look. Identifying the Types of Basement Floor Cracks Hairline / Shrinkage Appearance: Less than 1/8 inch wide; completely level on both sides. Severity & Action: Low. A cosmetic issue caused by natural concrete curing or mild settling. Keep an eye on it over time. Active / Leaking Appearance: Any width; shows visible moisture, dampness, or running water. Severity & Action: Medium to High. Needs water mitigation or professional waterproofing to prevent mold and structural moisture damage. Heaving / Uneven Appearance: One side of the crack sits noticeably higher than the other, creating a vertical lip. Severity & Action: High. Indicates serious underlying soil shifting or frost heave underneath the slab. Get a specialist evaluation promptly. Tapered Appearance: Wider at one end than the other. Severity & Action: High. Signals that the concrete slab is actively rotating or tilting unevenly. Needs expert inspection. The Hidden Risks of Delaying Repairs Leaving open fissures in your basement floor invites several environmental and structural hazards into your home: Moisture & Toxic Mold: Even a tiny amount of water seepage creates the perfect environment for wood rot and toxic mold to flourish. Radon Gas Intrusion: According to the EPA, radon exposure is the second leading cause of lung cancer in the United States. This naturally occurring, radioactive soil gas easily seeps into lower living spaces through unsealed concrete floor cracks. Pest Infestations: Ants, termites, and spiders utilize these narrow entry points to establish colonies inside your warm lower level. Ruined Renovations : If you plan on finishing your basement, repairing every crack is a non-negotiable step. Hidden moisture will quickly destroy expensive new carpet, laminate, or drywall. Plunging Resale Value: Savvy home inspectors flag unresolved floor cracks immediately. Proactively addressing these issues with a certified specialist like Disciple Masonry protects your equity and keeps future negotiations seamless. When to Call the Professionals As a general rule, any floor crack wider than a quarter of an inch needs immediate professional attention. If you can easily slip a quarter into the gap, or if you notice the crack growing rapidly over a short period, the house is actively moving. Furthermore, pay close attention to the cove join; —the perimeter area where your concrete floor meets the vertical basement walls. If water consistently pools here, superficial DIY patching will fail. When hydrostatic pressure takes over, you need advanced structural intervention and targeted waterproofing solutions from the concrete restoration specialists at Disciple Masonry. Step-by-Step: How to Repair a Stable, Dry Floor Crack If you have verified that you are dealing with minor, non-structural settlement cracks that remain completely dry, you can tackle the repair yourself using this specific method: 1.Prep and Chisel the Crack: Required for a lasting bond. For larger or tight cracks, use a hammer and chisel to "key" the crack, making the base slightly wider than the surface. This upside-down "V" shape locks the patching material in place permanently. 2.Vigorously Clean the Crevice: Remove all loose debris. Scrub the concrete with a stiff wire brush to dislodge old paint, loose concrete, and scale. Use a shop vacuum to clear out every bit of lingering dust and fine gravel. If debris remains, the sealant cannot bond. 3.Apply a Bonding Agent: Maximizes adhesion. Brush a concrete bonding agent along the inner walls of the clean crack. This step is crucial for making sure the new filler adheres seamlessly to the old, dry concrete. 4.Inject or Pack the Filler: Smooth flush to the floor. Fill the crack completely with a high-quality flexible polyurethane sealant or self-leveling horizontal concrete repair compound. Use a trowel to smooth the surface flush with the surrounding floor and let it cure completely. Advanced Professional Solutions for Structural Cracks If your floor crack is actively leaking, uneven, or widening, consumer-grade big-box store patches will not suffice. For permanent structural fixes, professional teams like Disciple Masonry utilize heavy-duty solutions designed for longevity: Polyurethane Foam Injections: This method injects a flexible, expanding foam deep into the crack to seal it through its entire thickness, blocking water while accommodating future natural shifts. Carbon Fiber Reinforcement: High-tensile carbon fiber straps are bonded directly across structural breaks, providing immense strength that stops further widening or lateral movement. Slabjacking & Polyjacking: If the floor has settled unevenly, specialized teams drill micro-holes into the concrete and inject a dense structural foam underneath, safely lifting the heavy concrete slab back to its level position. Long-Term Maintenance Check To keep your basement dry and stable, pair your interior repairs with smart exterior water management. Keep your gutters clean, make sure your downspouts discharge water at least ten feet away from your foundation, and make sure the exterior soil slopes gently away from your home. Whether you are handling a DIY patch on a cosmetic blemish or bringing in a trusted foundation partner, addressing your basement floor cracks early is the absolute best way to safeguard your home’s structural health. Protect Your Foundation with Disciple Masonry Don't let minor basement cracks turn into a massive structural headache or a breeding ground for mold and radon. Whether you are dealing with a shifting floor, persistent water leaks, or want an expert assessment before finishing your basement, Disciple Masonry is here to help. Our skilled team delivers long-lasting foundation repair, concrete stabilization, and professional structural solutions you can count on. Contact Disciple Masonry today to schedule your professional basement inspection and secure the structural health of your home!
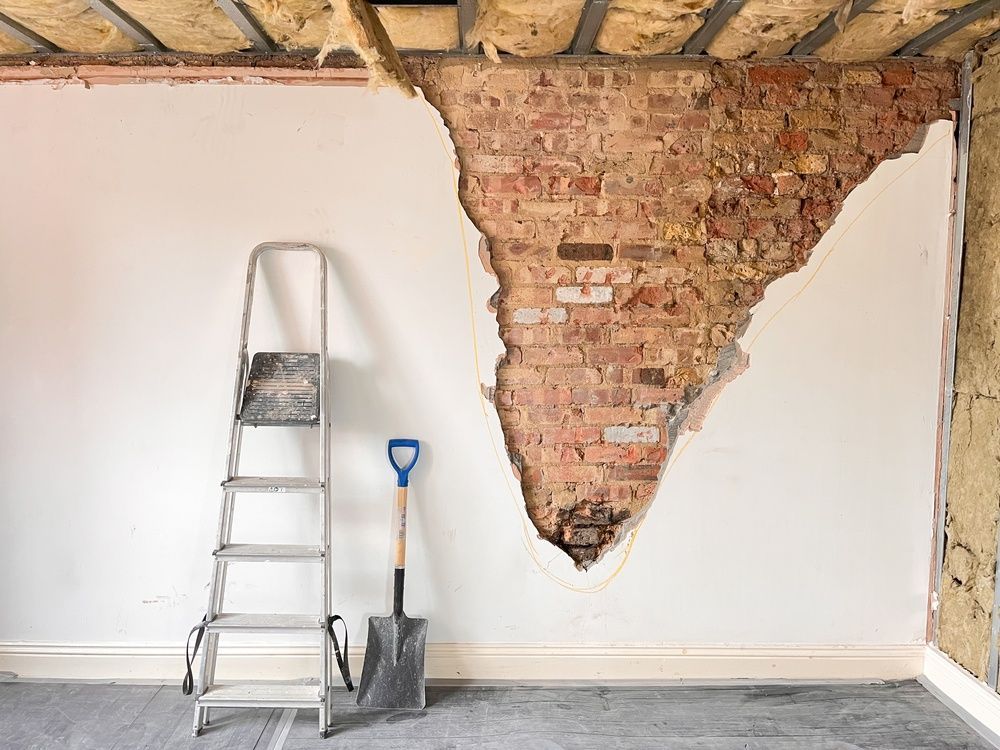
Discover the powerful cultural and economic benefits of historic preservation. Learn why restoring old masonry is a smart investment with Disciple Masonry.
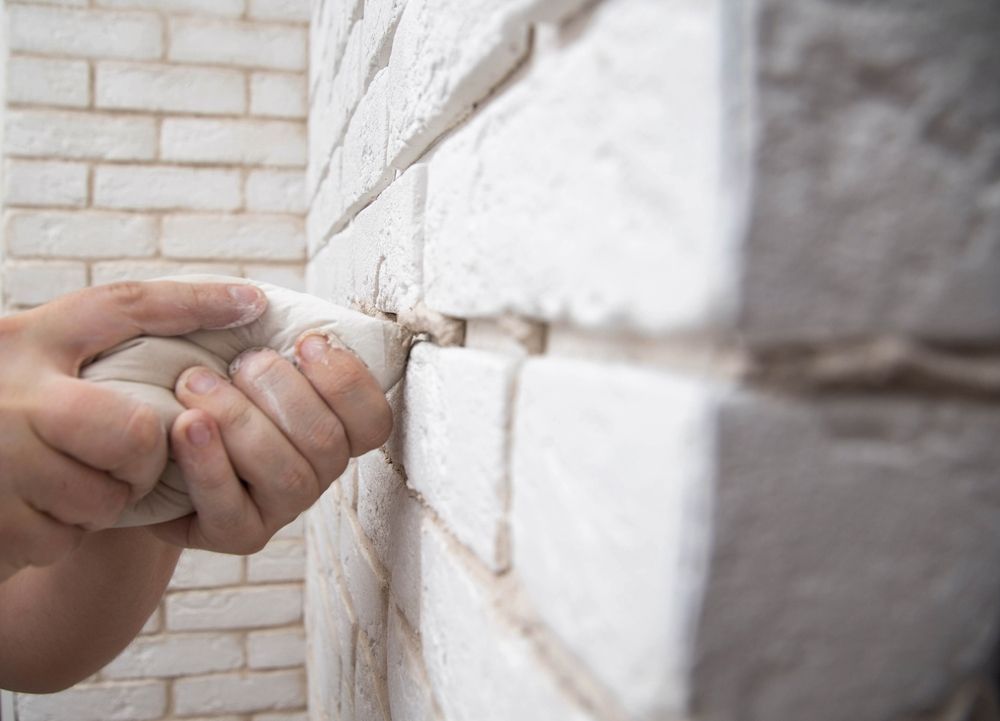
Discover why bricks move and how control joints protect your property from structural damage. Expert insights from Disciple Masonry on building to last.
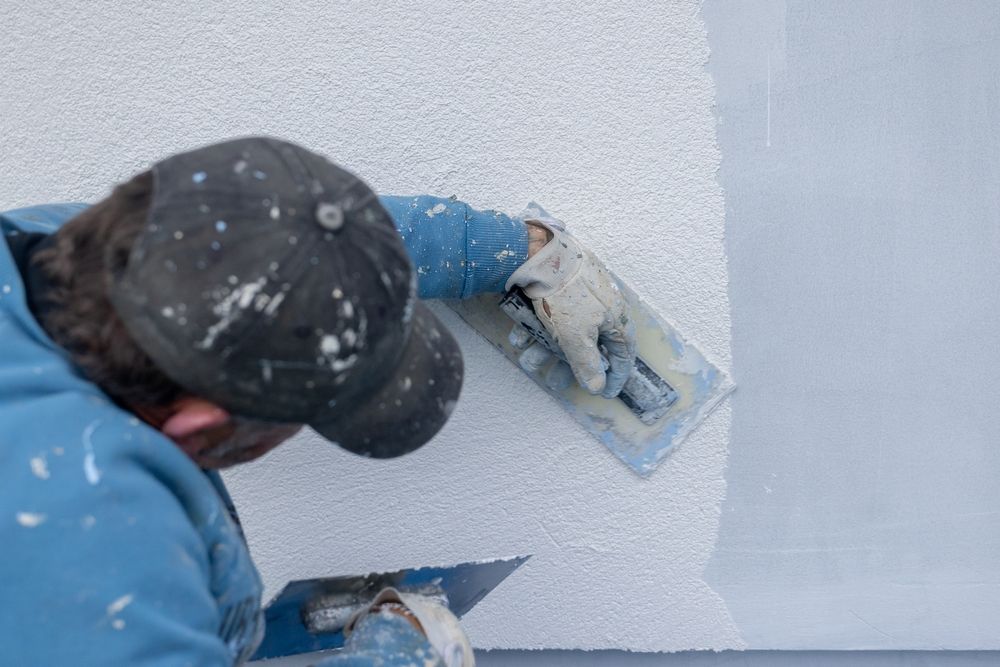
Master the basics of stucco masonry. Explore the core components and mixtures that create a durable, weather-resistant exterior for any structure.
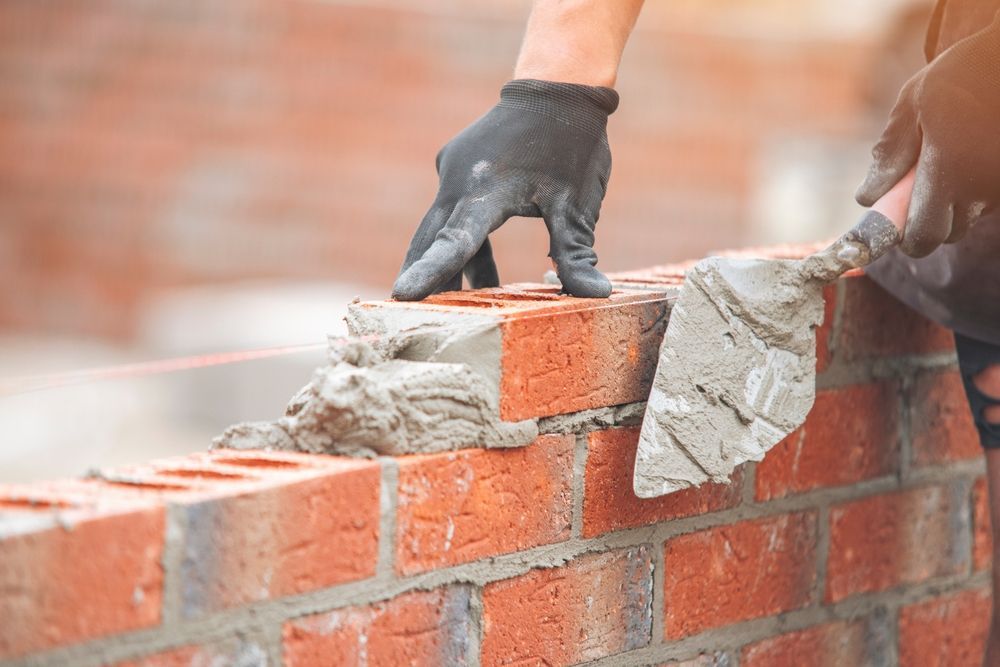
Protect your home from structural failure. Discover how Disciple Masonry matches the perfect mortar mix for modern concrete and historic stone foundations in Montgomery County.

Discover the timeless beauty and durability of ashlar stone masonry. Learn about its history, uses, and benefits for modern construction.
Transform your concrete masonry brick garden walls with these easy tips and tricks! Learn how to enhance their appearance and add charm to your outdoor space.
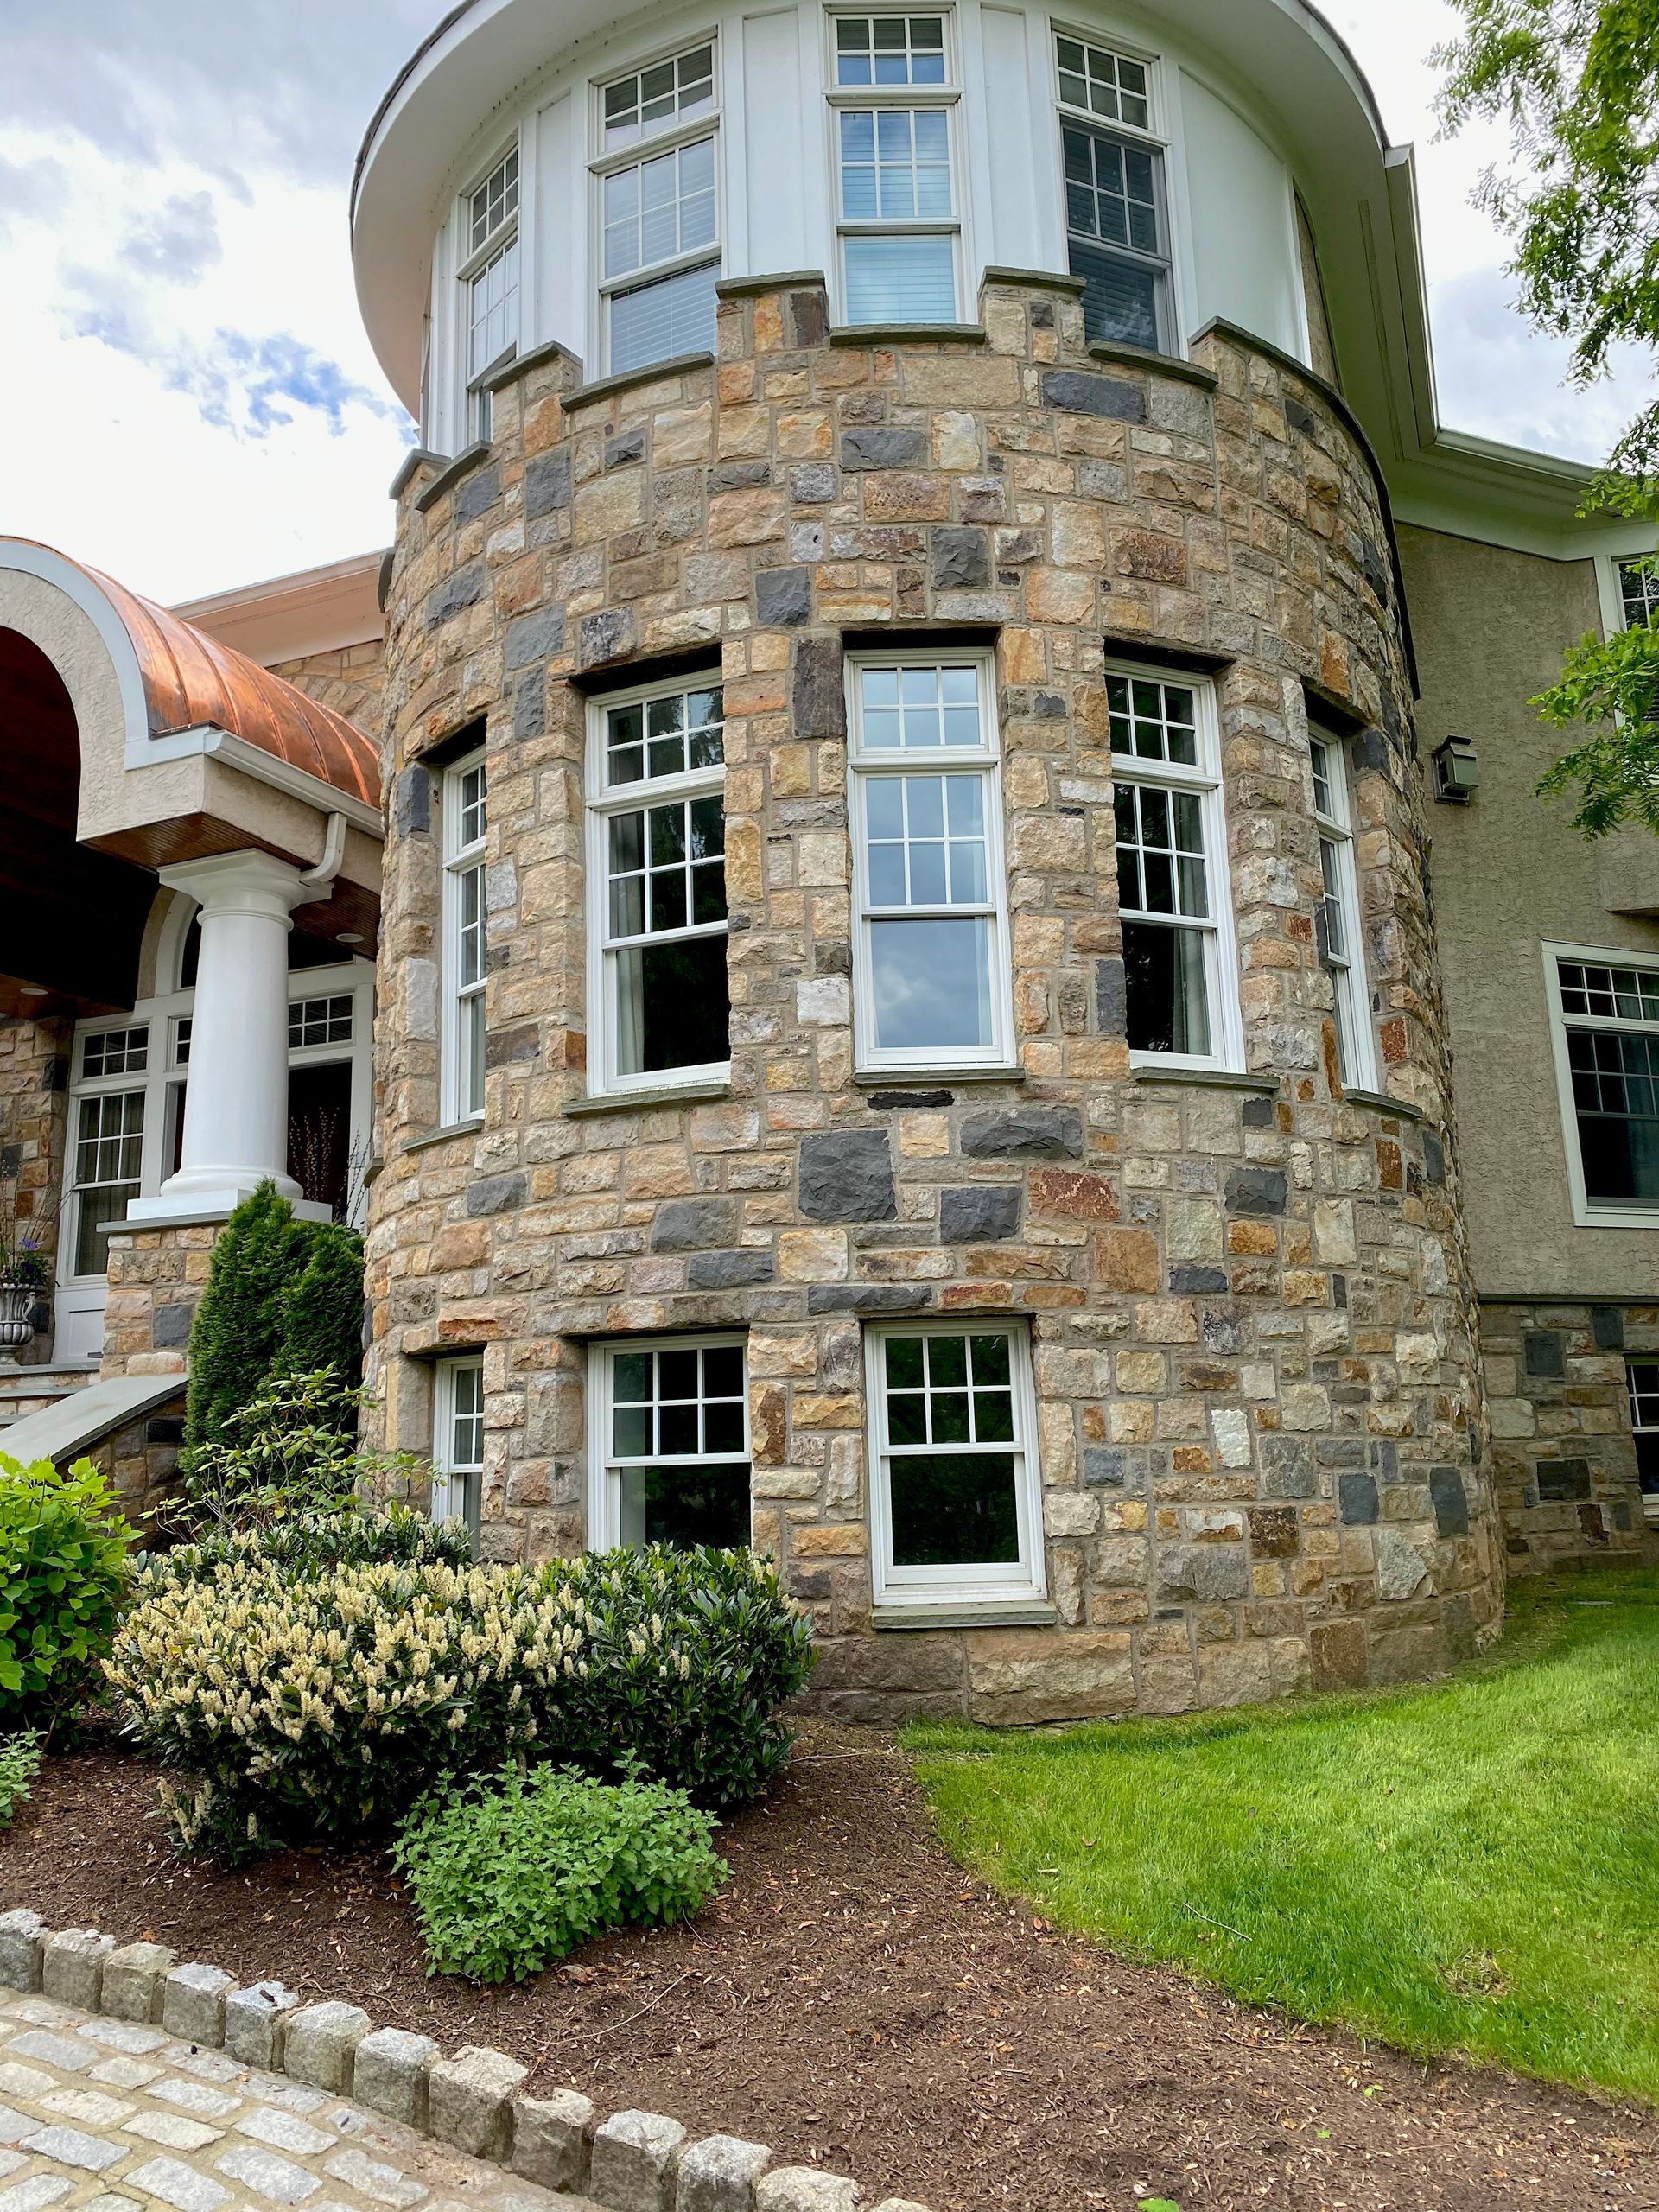
Discover the world of stone masonry with our guide on the different types, techniques, and benefits. Become an expert in this timeless craft and elevate your construction projects.

Discover the ultimate guide on how to repair cracks in your chimney crown and prevent costly damage. Our expert tips will save you time and money.